Are you planning HTTP to HTTPS migration for your WordPress website or blog? I recently migrated digitalharpreet.com to HTTPS. This means all the URL’s on my website are now moved to HTTPS (SSL) protocol. All the non-secure HTTP requests are now redirected to HTTPS.
While I was doing this, I promised myself to share this with other bloggers, so they can have a smooth migration with no downtime.
As you may know, Google has been working hard on their objective of shifting everyone to a more secure web. For WordPress site owners, it is always great if you can be proactive.
Because of new protocols and SEO benefits, there has never been the better time to migrate to HTTPS. Follow this guide on how to perform HTTP to HTTPS migration for your WordPress site.
But before we move further, lets first learn –
What is SSL?
SSL (Secure Socket Layer) is the standard security technology for establishing an encrypted link between a web server and a browser. This secure link ensures that all data transferred remains private. It’s also called TLS (Transport Layer Security). Millions of websites use SSL encryption every day to secure connections and keep their customer’s data safe from monitoring and tampering.
What is HTTPS?
HTTPS (Hyper Text Transfer Protocol Secure) is a mechanism that allows your browser or web application to securely connect to a website. HTTPS is one of the measures to help keep your browsing safe and secure. This includes things like logging into your banking website, capturing credit card information, and even logging to the back-end of your WordPress site. HTTPS on your WordPress website requires that you have an SSL certificate for encryption. This ensures that no data is ever passed in plain text.
According to BuiltWith, as of December 2017, 45.8% of the top 10,000 websites are using HTTPS. That is up from 5.68% back in September 2015.

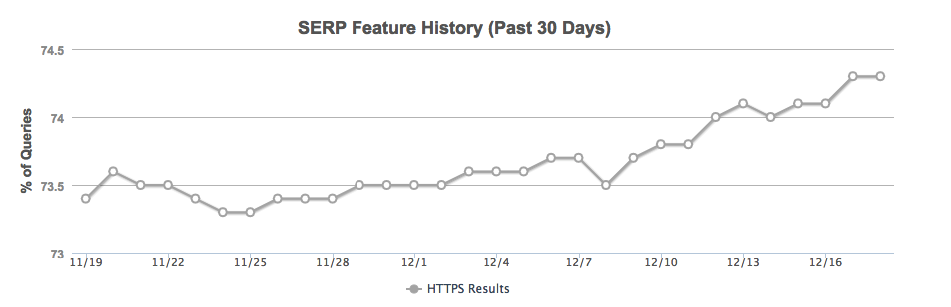
As of October 2017, MozCast is reporting over 73% of search queries are over HTTPS, up from 26% in January 2016. That means there are a lot of sites migrating from HTTP to HTTPS.
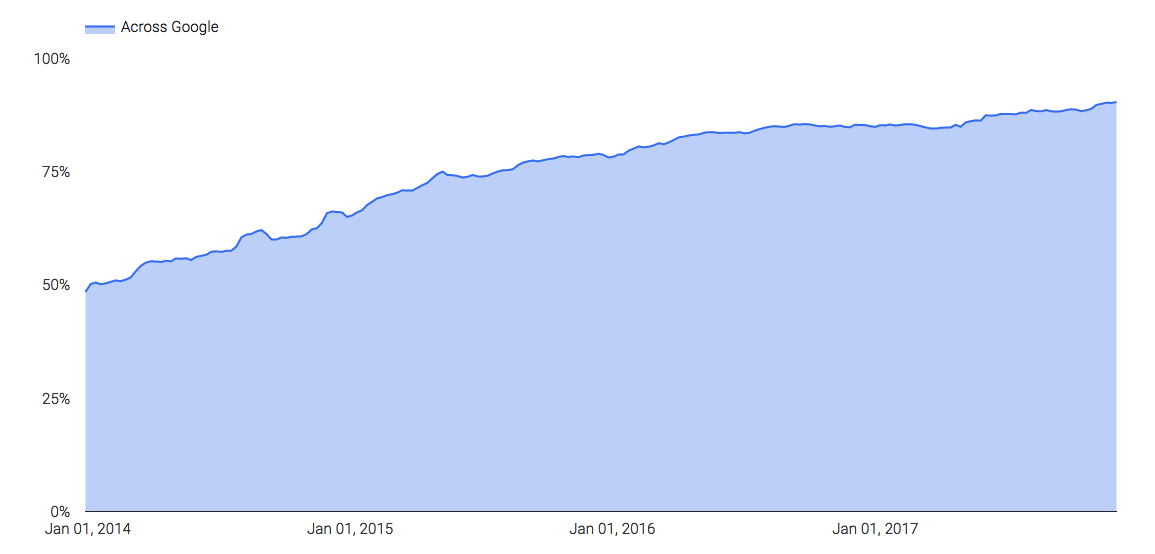
Even Google themselves is pushing for that 100% encryption mark across all their products and services. As of November 2017 around 90% of traffic to Google is over HTTPS.
Why Use SSL? Why Should You Redirect HTTP to HTTPS?
Every website on the Internet should be served over HTTPS. Here’s why:
- Performance: Modern SSL can actually improve page load times.
- Search Ranking Boost: Search engines favor HTTPS websites.
- Security: Encrypting traffic with SSL ensures nobody can snoop on your users’ data.
- Trust: By displaying a green lock in the browser’s address bar, SSL increases visitor’s trust.
- Regulatory Compliance: SSL is a key component in Payment Card Industry (PCI) compliance.
HTTP to HTTPS Migration Guide
Migrating your WordPress site from HTTP to HTTPS is not a rocket science. When you follow the correct steps then it’s as easy as installing a WordPress on your domain. Here are the steps you need to take for HTTP to HTTP migration and make every link redirect to HTTPS.
1. Buy SSL and Installation:
If you have hosted your site on web hosts like Bluehost, SiteGround, InMotion Hosting then you are the luckiest person on this planet as far as HTTP to HTTPs migration is concerned. Because these web hosts provide one year free SSL certificates for your domain and thereafter you can renew it every year.
DigitalHarpreet.Com is hosted on a business shared hosting plan of Hostgator. Hostgator provides SSL and a dedicated IP free for the complete duration of your account with them.
But if you have hosted on their Baby plan then you will need to buy the SSL separately. They offer following types of domain validated SSL certificates for individual domains –
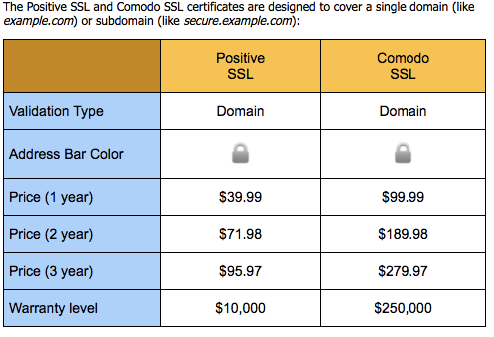
Once you finalize the type and package, you can go here and submit your request to Hostgator Support team to install SSL Certificate on your domain. (Submit Form Now)
Let’s Encrypt
If you are on some other web host, check with your WordPress host and CDN provider to see if they have a Let’s Encrypt integration.
As of April 2016, Let’s Encrypt created a way to get free SSL certificates. You can also follow the Certbot guide on how to install them manually. Let’s Encrypt certificates expire every 90 days so it is important to have an automated system in place.
If for some reason whatsoever, your host does not support LetsEncrypt or doesn’t provide you a free SSL, you can buy an inexpensive PositiveSSL certificate from NameCheap. They cost around $9/Year. Once purchased, you can ask your web host to install the SSL for you.
If your hosting is at Hostgator – You can request SSL installation from here.
Tip: If your web host provides support for SNI, you don’t need a dedicated IP to install SSL.
CloudFlare Free SSL Certificate – Why Not Use It?
Cloudflare free SSL aka. Universal SSL is also a type of Flexible SSL certificate. To get this, you will need to create an account at CloudFare and subscribe for FREE SSL. The FREE CloudFlare SSL provides flexible SSL for personal websites, blogs, and for people who wants to explore Cloudflare.
The CloudFlare Flexible SSL means that visitors to your site will be able to connect using https, but the connection between your hosting server and Cloudflare will not be encrypted. It is the default setting for your domain when you add a FREE Cloudflare plan to your domain without an SSL certificate.
Remember that, this type of SSL is NOT recommended if you have any sensitive information on your website.
When I was researching companies to buy SSL certificates for my site, I got to know that people who tried Cloudflare have had issues with it in using Google AdSense and discrepancy in Analytics logs.
Moreover, if you have any payment process setup on your website then CloudFlare FREE SSL does not meet the Payment Card Industry – Data Security Standards aka. PCI – DSS.
PCI DSS is basically a set of protocols set forth by VISA, MasterCard, American Express and Discover to follow to guarantee that your customers’ data is secure. If your business is in violation of these standards, you are at risk of getting hit with huge fines and getting your credit card processing suspended.
With Cloudflare’s Flexible SSL, the data from your customer to Cloudflare is encrypted but the data from Cloudflare to your server is not. This is in clear violation of clause 4 of the PCI DSS compliance protocol “Encrypt transmission of cardholder data across open, public networks”.
Given the facts, I never thought to try it on my blog. But if you would like, you can try their paid subscriptions.
2. SSL Test After Installation
After installation of SSL Certificate on your website, you can test the installation using SSL Labs. You just need to enter the domain name and make sure the certificate gets at least an A grade.
3. WordPress Admin Login
After SSL installation, try to login to your WordPress Admin area and see if it works fine on SSL. If you face issues while login, then adds the below code snippet in your WP-CONFIG.PHP file to force WordPress Admin to use HTTPS.
define('FORCE_SSL_ADMIN', true);
You should now see a green padlock for your WP admin area.

4. Configure WordPress Admin
Go to your WordPress Dashboard > Settings > General. Change your WordPress address and Site address to HTTPS.

5. 301 Redirect from HTTP to HTTPS
301 is considered a permanent redirect universally. Open your website’s .htaccess file and use this snippet to 301 redirect all your incoming HTTP links to HTTPS.
#Sets the rewrite engine to On
RewriteEngine On

#Checks if link is not already https
RewriteCond %{HTTPS} off

#if not https make a permanent redirect to https
RewriteRule (.*) https://%{HTTP_HOST}%{REQUEST_URI} [R=301,L]
6. Changing Internal Links To HTTPS
Option # 1
Use this awesome free plugin – Really Simple SSL – to migrate all internal links present in your WordPress database.
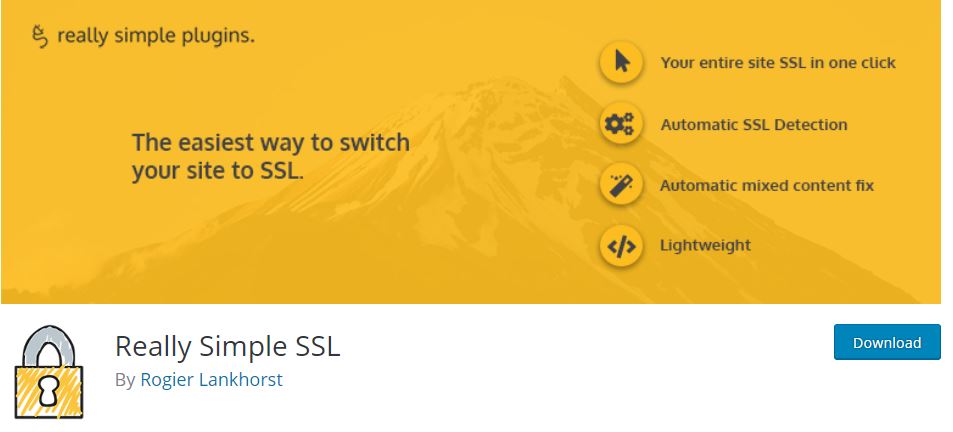
How To Install Really Simple SSL WordPress Plugin –
- Take site back up!
- Install your SSL certificate
- Download the plugin
- Upload the plugin to the wp-content/plugins directory,
- Go to “plugins” in your WordPress admin, then click Activate.
- You will now see a notice asking you to enable SSL. Click it and log in again.
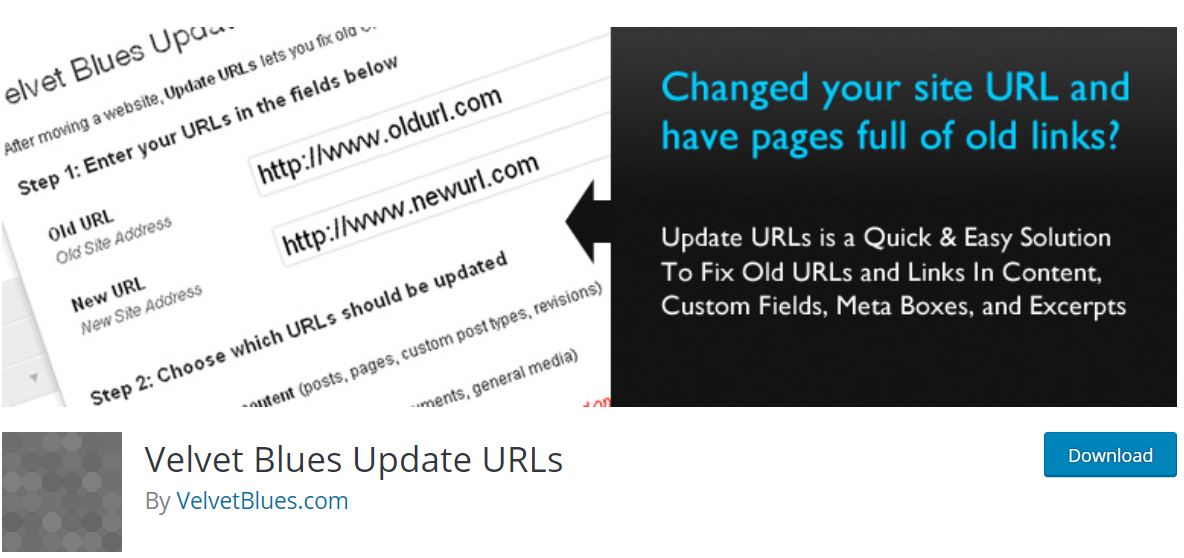
Option # 2
Velvet Blues Update URLs – This plugin provides a quick and easy solution to migrate all the internal links to HTTPS links. The installation and uninstallation are extremely simple. Refer this for more information.
7. Finally, It should Look like this –
Once you have the SSL enabled for your site and if everything works fine, your Google Chrome browser should show a green padlock in the browser URL bar.

8. Google Search Console Changes
- Add the HTTPS site to Google search console (formerly known as Google Webmasters tool). As per Google:
If you migrate your site from HTTP to HTTPS, Google treats this as a site move with a URL change. This can temporarily affect some of your traffic numbers.
Add the HTTPS property to Search Console; Search Console treats HTTP and HTTPS separately; data for these properties is not shared in Search Console. So if you have pages in both protocols, you must have a separate Search Console property for each one. See Below:

- If you have disavowed links in the past, make sure you move them over to the new https location in search console. You can simply download the previous disavowed links file and upload it to the new property.
- Add a sitemap to the newly added property in Search Console.
The change-of-address setting doesn’t apply for HTTP -> HTTPS moves.
9. Google Analytics Changes
For Google Analytics, you don’t need to create a new profile. However, you just need to switch HTTP to HTTPS at few of places in settings.
- Go to Google Analytics dashboard
- Click on the Admin tab on the top right.
- In the middle column, choose the property from the drop-down and click Property Settings.
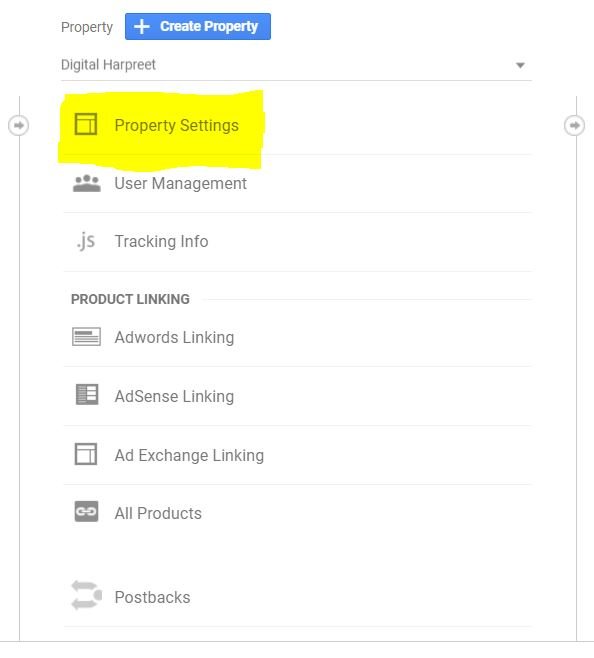
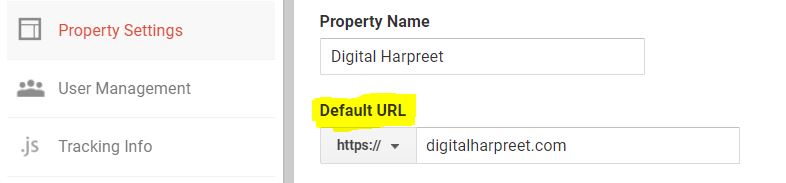
- Change the default URL to HTTPS.
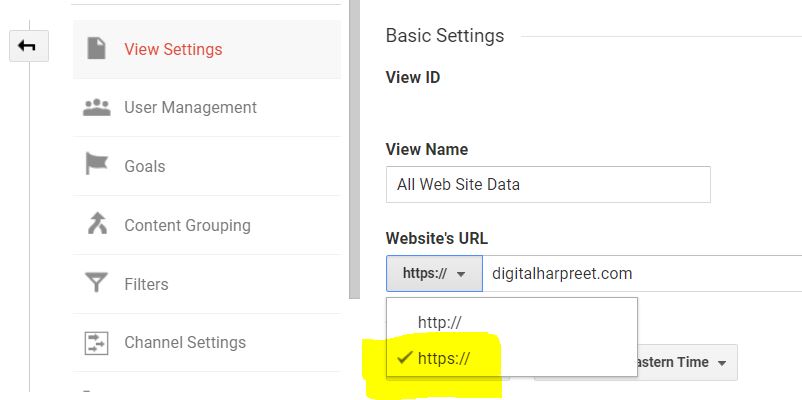
- Click on the small arrow ↰ on the left side to go back to the Analytics admin home. Click View Settings.


- Change the website’s URL to HTTPS for all the views you have for a given property.
- Add annotation in Google Analytics for your reference and to keep track of the date when you added SSL to your site.
Final Words
So, did you migrate your site to HTTPS yet? How was your experience? Did you find any change in traffic? Share your opinions in the comments section below.


Pingback: Adding Last Updated Timestamp On Your Blog Posts in WordPress | DH
Pingback: Most Effective SEO Trends To Look Out For In 2018 | DH